
ONE ROOM CHALLENGE * WEEK 4 * HOME GYM MAKEOVER - BRICK, BEAD BOARD, OH MY!
It’s Week 4 of the One Room Challenge, you guys! This means it is CRUNCH time. We only have 14 days to wrap up all the things! This past week we tackled the bead board ceiling and accent brick wall. If you’re just reading for the first time, catch up with Week 1 , Week 2 and Week 3.

They say pictures are worth a thousand words. In this case, they are lacking a lot of words because we accomplished SO many things that aren’t represented in the photos. Here’s a quick run down of things we accomplished, but not shown in photos below:
Fixed the squeaky floor by adding bracing to joists, screws and subfloor adhesive in the cracks (our bedroom is directly above this room)
Added new duct work to move the location of the ceiling vent (requiring 3 trips to the store because we purchased the wrong size twice 🤦🏼♀️)
Ordered new 3 panel door and bi-fold closet doors
Ordered remaining closet pieces
Ordered new window covering
Finalized flooring plan

Before we could jump into the bead board ceiling, the faux brick panels needed to be installed. We purchased (4) sheets of the paintable brick 4x8 paneling from Menards and used staples to attach to existing cedar panels.

Each piece required a few cuts to make them fit. Overall, it was fairly quick to install. We opted to leave the cedar panels in place, should we ever want to remove the brick someday.

Next, we moved onto framing the ceiling to prepare of the bead board panels. We made our trip to Menards for all the supplies. We used 1x4 pine for all the framing. We framing part may look easy in photos, but it certainly required a lot of measuring and planning prior to even starting. In a nutshell, math is hard and working over your head is even more difficult. 🤯


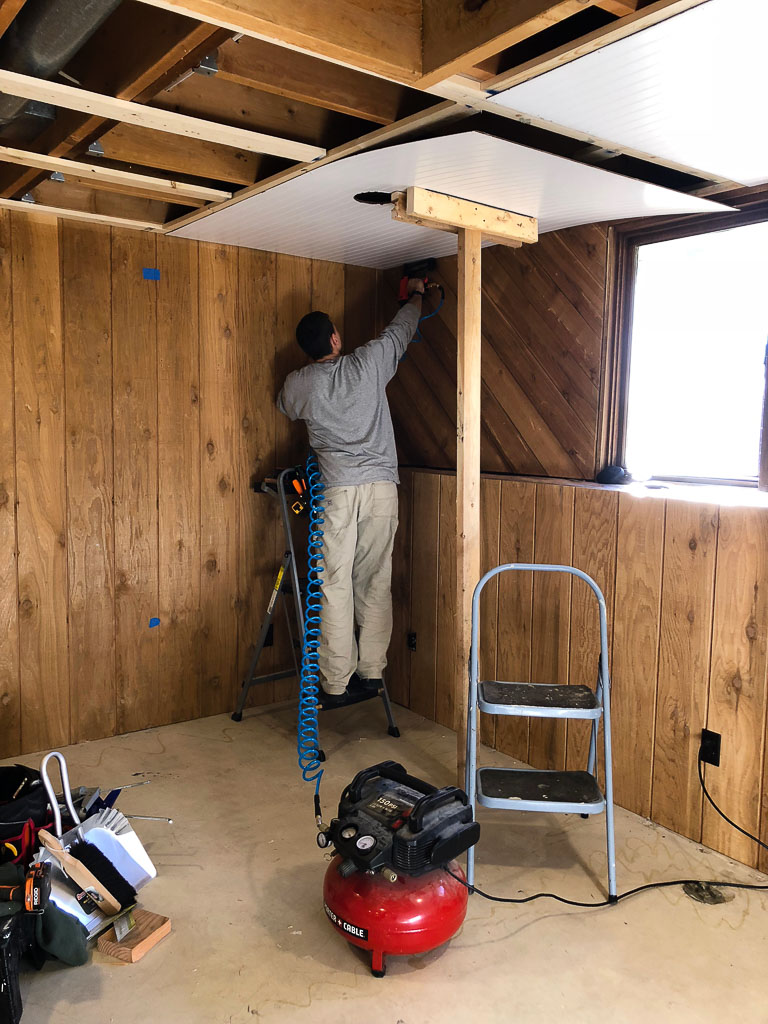

Aside from the challenges of planning the ceiling, we survived and succeeded in installing the panels. Once the panels could be hung, it felt like we were finally making progress.
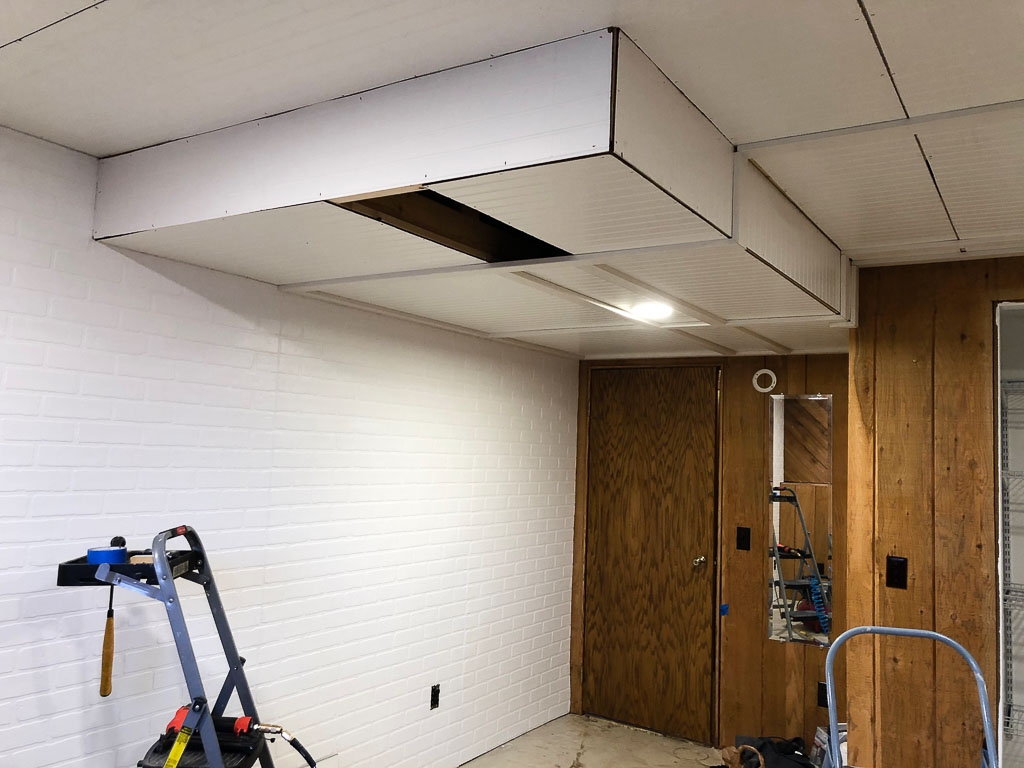
The lowest part of the ceiling is when you first enter the room. This part was tricky as it’s a smaller section (more cutting) and we wanted to include access panels. In the upper, right photo, below, the middle section is where the access panels will be. We have junctions boxes and HVAC damper controls in that section. Paul came up with a clever design so the access points blend in with the ceiling. Keep scrolling for more bead board excitement.


While Paul was finishing up the ceiling panels, I patched the seams and staple holes on the brick wall. Sanding and painting followed. In the photo below, the left side is painted, while the right side is not. The patching and painting really helped hide the panel seams.

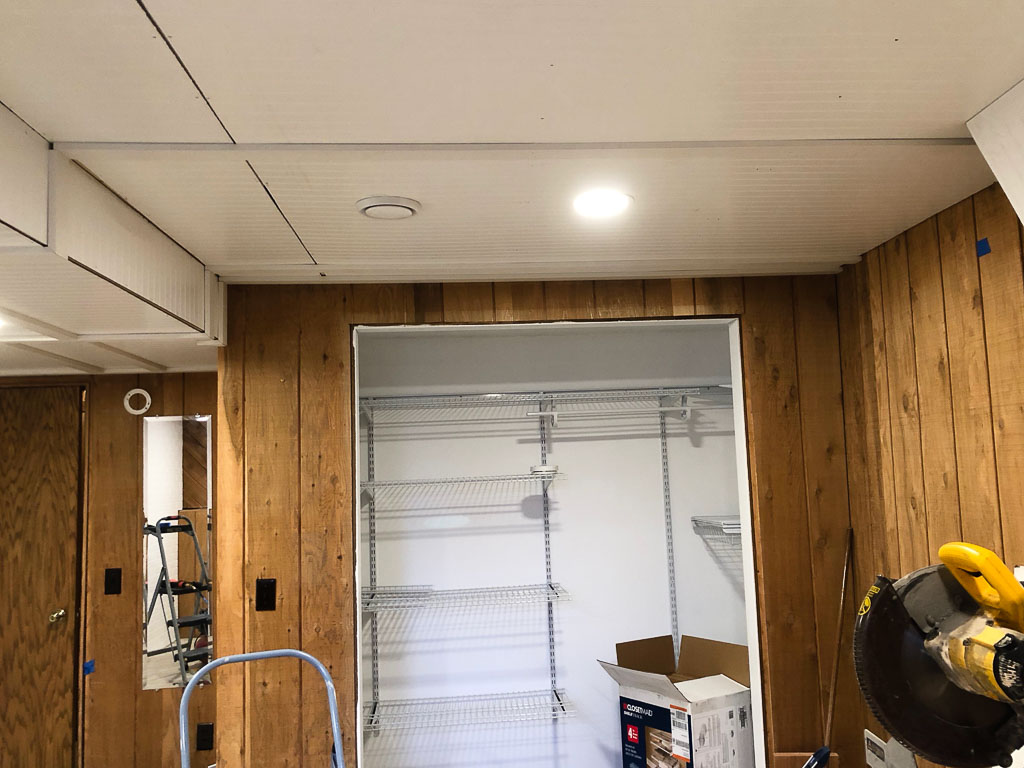
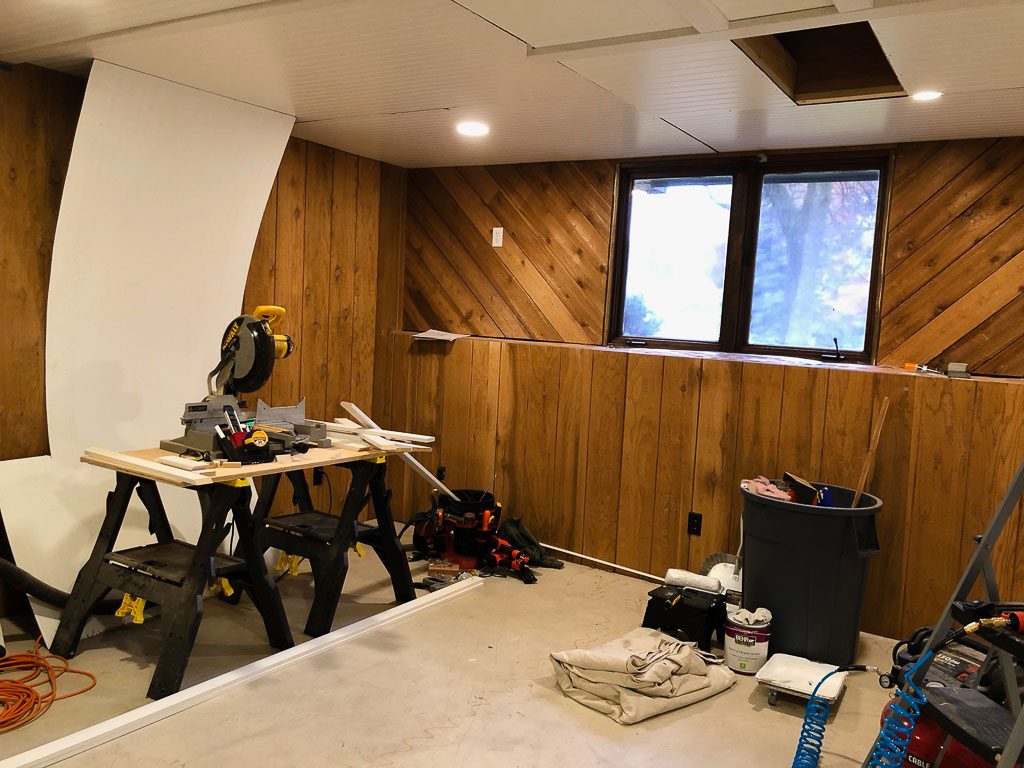
As we head into Week 5, I’ll leave you with photos of the current room’s state with four images below. While it feels like we are moving at 🐢 speed, I know we’ve accomplished a lot in four short weeks.

This next week, we have a very healthy to-do list:
Finish all trim work on bead board ceiling
Paint ceiling
Paint new doors
Swap out all old outlets and switches with white ones
Flooring!
Building the custom bench
Until we return for Week 5, be sure to check out the fabulous featured ORC designers here! You can also check out all the other fabulous Guest Participants over here.
Don’t forget to follow us on instagram here!