
Let's Build A Workshop (In the middle of winter)
You may have heard a thing or two about our newish workshop. We've been sharing photos and the journey to build over the past year. We kicked off the project back in October of 2016. While the workshop is currently up and running, we still have a few more things on the to-do list. As promised this officially kicks off the mini series about building our workshop (better late, than never).
Why build a workshop? If you read this post about how our new company evolved, we decided a workshop would allow Paul to have a space for his projects. The garage functioned as a make-shift workshop since we moved in back in 2012. However, the saw dust, tools and wood really needed a permanent home. Not to mention, the garage is not heated and parking outside in the winter was to be avoided at all costs (we live in MinneSNOWta).
The final decision for the new business was quick. The workshop idea evolved even faster. With Mother Nature on our heels, we had to move fast to make a plan and start construction before the temperature dropped and the snow started flying. We contemplated the idea of adding onto our existing garage. Due to the roofline and having a fairly new roof, we opted out of this option. Keep it simple, right? Once we did a little research and reached out to our contractor friends, we had a good starting point. Here was our to-do list before we could even start building:
- Determine size and layout for workshop
- Research prebuilt kits vs. building from ground up
- Research city ordinances about building additional structure, setbacks and height restrictions
- Locate survey map from city or hire someone to survey lot, if unavailable
- Locate property stakes to abide by setback requirements
- Estimate cost of structure
- Pull permits
- Order supplies
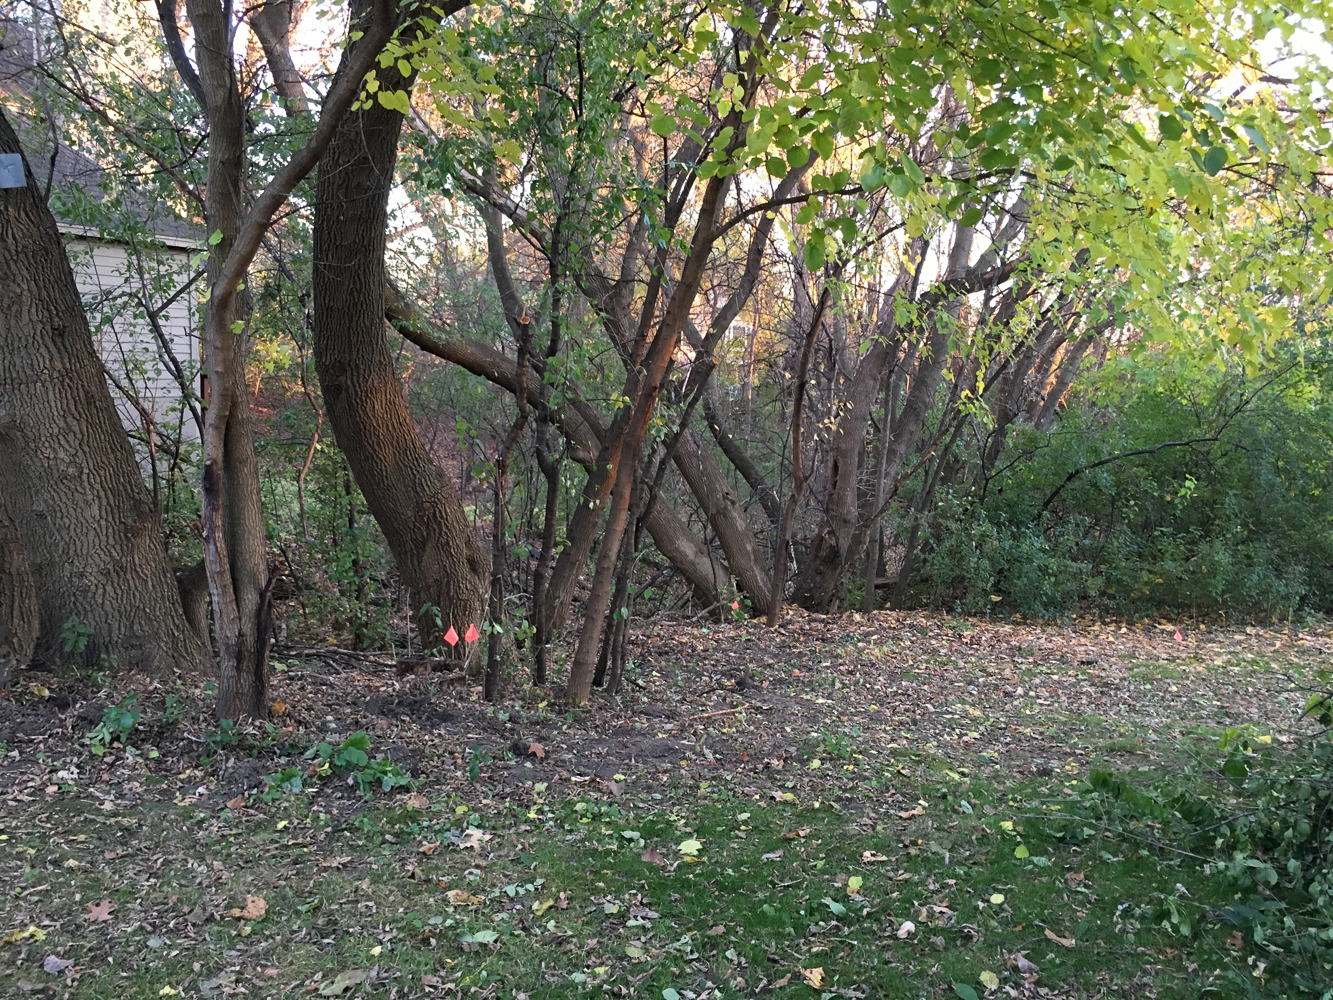
After researching the setback requirements, we selected this as the future home for the workshop. It's an odd area on our lot. There is an incline, no grass ever grows and is not very usable. Perfect place for a tiny building, right?

Thankfully, we were able to pull a copy of our properties' original survey from the city archives. As a reference, the pink rectangle is drawn in the same location as the photo above. The wooded area, in above photo, is on the east side of our lot.

This view is standing on the north side of the proposed workshop, looking southeast.
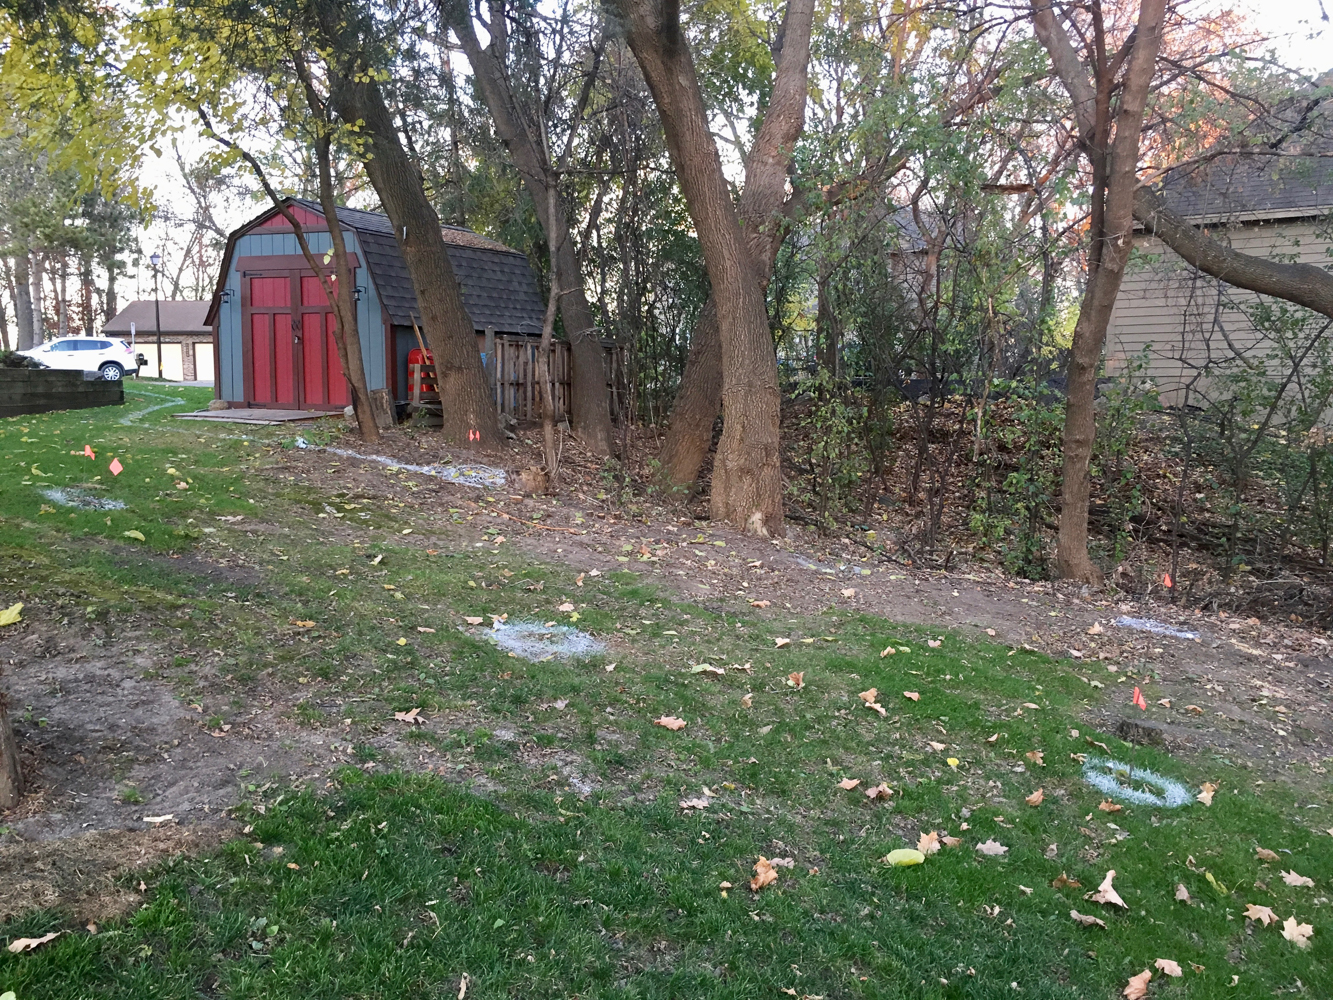
Standing at the bottom of the hill, looking north.

To make room for the future shop, we had to clear some smaller trees and trim branches. We tried to clear as little as possible to save the trees.

We were successful in locating our property stakes by renting a metal detector. If we hadn't be able to locate them we would've had to hire a surveyor ($$$). The metal detector rental was a much cheaper option. Once we knew where our property lines were, we could easily stake out the location of our workshop. In the photo below, the white painted circles, with orange flags indicate the future footings.
The next photo shows the footings from the north side, along with our property line and power from the garage to the workshop. Up next, I'll share how we selected our workshop design, ordered materials and break ground on our future workshop.
